Understand the job before you start
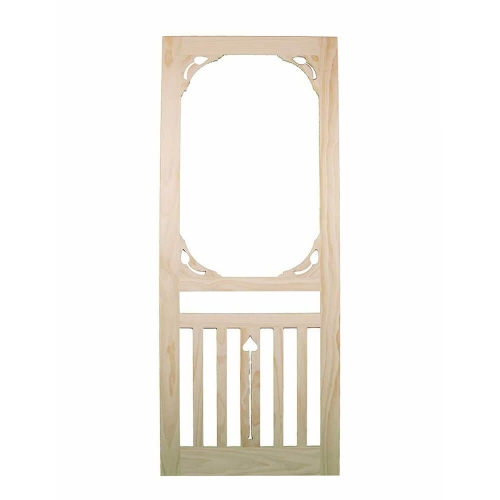
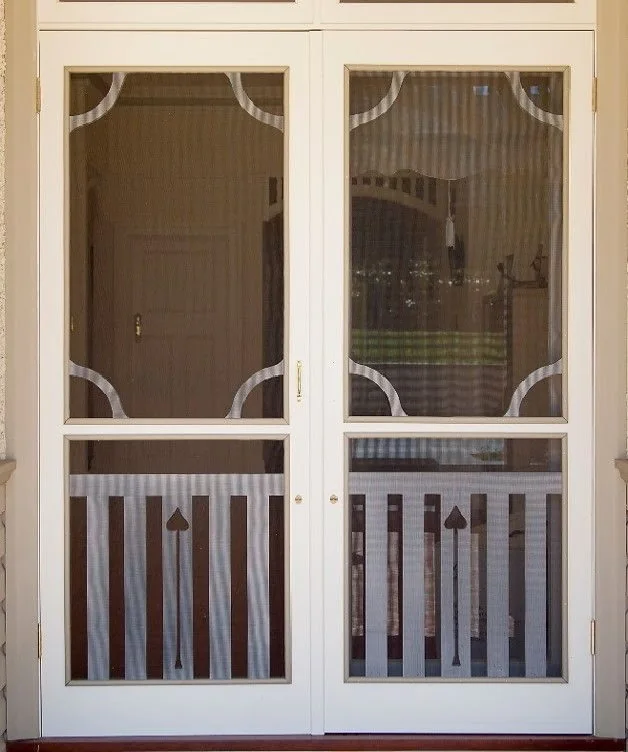
This guide is for a timber door with removable retaining beads. It is not the rubber-spline method used on many aluminium flyscreens. Inspect your supplied door and ask the workshop to confirm the bead arrangement, fixing type, fixing length and spacing for your particular frame. Decorative openings can require several separate pieces, so do not assume every bead is interchangeable.
If the door is already hung, removing it to a stable padded work surface may make the work easier. Support the complete door so it cannot twist or drop. Keep any hinge information and loose hardware together for refitting.
Gather the right tools
You will need a tape measure, pencil, labels, a square and suitable padded supports. Depending on the confirmed fixing method, you may also need a drill with an appropriate pilot bit, a hammer and nail punch, or a screwdriver. Use eye protection for drilling and fixing. If timber needs cutting or sanding, follow the timber treatment and tool suppliers’ dust-control and protective-equipment instructions.
1. Label and dry-fit every bead
Before removing existing beads, mark their positions on removable tape: opening, top, bottom, left and right. Place each bead back in its intended position without fixing it. Check that the corners meet neatly and the bead sits on its intended seat without rocking. Do not force a long piece into a gap; pressure at a mitred corner can split a thin section.
2. Settle the finishing sequence
Discuss priming, coating and any cut-end treatment with the workshop and coating supplier before fitting the mesh. It is easier to prepare inaccessible surfaces while the beads are loose. Follow the specified drying times so a soft coating does not stick to the mesh or mark under the fixings.
3. Fit the mesh, then secure the beads
The beads retain the mesh; they should not be used to drag an uneven sheet into position. First fit the mesh square and evenly, following our flywire guide. Refit the labelled beads over it. Pilot drilling may be needed to prevent splitting, especially near ends or in dense hardwood. Use only the fixing arrangement confirmed for the door, checking that fasteners cannot emerge through the opposite face.
4. Inspect before final touch-up
Work progressively and check the corners as you go. Stop if a bead begins to split, lifts away from its seat or distorts the mesh. Once retained, the mesh should be even and the door should remain square. Complete the specified coating touch-up, then refit and check the door’s operation.
For a new door, send us the design and intended mesh before starting. A brief conversation about the retaining detail can prevent damage to a thin bead or a freshly finished frame.
Ready to choose your door?
Explore the full range, set your dimensions and send an enquiry to the workshop. Standard screen doors include beading; wire mesh is not included.
EXPLORE SCREEN DOORS ↗