Choose mesh that suits the complete assembly
Flywire is a common name for insect-screen mesh, but products differ in material, thickness and intended use. Confirm that your chosen mesh can be retained by the door’s bead and rebate arrangement. If you need a particular performance rating, ask about the complete door assembly before buying mesh: adding a strong sheet to a decorative frame does not establish a security rating.
For background on mesh replacement, Bunnings’ flyscreen guide is a useful reference. Its frame-retention method may differ from a timber beaded door; use the method specified for your frame.
1. Support the door and identify the beads
Work on a clean, stable, padded surface that supports the whole door. Photograph and label the retaining beads before removing them. Ease old beads away carefully rather than levering hard against a finished edge. Remove loose old fixings and check for damage before starting with new mesh.
2. Measure each opening and leave a working margin
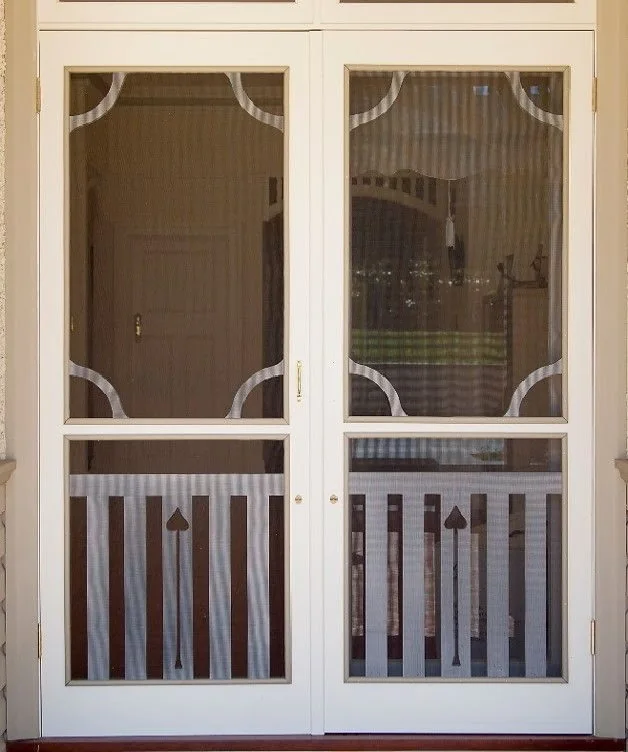
Measure the area that must be covered, including the part retained beneath the beads. Cut a piece with enough extra material to handle and secure, following the mesh supplier’s recommendations. Decorative rails may create separate openings; confirm whether your door uses separate panels or one sheet rather than assuming a single cutting layout.
3. Align the weave before applying tension
Lay the mesh square to the frame so its lines look straight against the rails. Hold it temporarily using a method suitable for the finish and mesh, without permanently marking the timber. Keep the door flat. A sheet that begins crooked becomes harder to correct after the beads are secured.
4. Retain it progressively and evenly
Follow the workshop’s recommended securing sequence, working gradually across opposing sides so tension stays balanced. Use the beads to retain an already aligned sheet, not to stretch it into shape. Excess tension can pull a light frame out of square or create a visible waist. If the door distorts or the mesh develops diagonal ripples, release and correct the work before proceeding.
5. Trim only after checking the result
Check the retained edges, bead joints and mesh alignment before trimming excess material. Use the cutting tool recommended for the mesh; metal mesh edges can be sharp. Protect the door finish, keep hands out of the cutting path and avoid cutting into the visible screen. Do not leave exposed sharp edges.
6. Check the door in its opening
After refitting, check that the door swings and closes without rubbing. Recheck the beads and mesh once the door is upright. If it no longer fits as it did before screening, investigate distortion or hardware alignment rather than immediately trimming timber away.
For bead preparation and fixing checks, read how to fit timber beading. Ask us about your door if the supplied retaining detail differs from this general approach.
Ready to choose your door?
Explore the full range, set your dimensions and send an enquiry to the workshop. Standard screen doors include beading; wire mesh is not included.
EXPLORE SCREEN DOORS ↗